Strip Drain Installation
Vertical Applications
#1 Trench Placement
Determine where strip drain will be installed and dig a trench 4” wide and at least 3” deeper than the height of the strip drain. For example, a 12” height strip drain requires a trench at least 15” deep.

#2 Trench Orientation
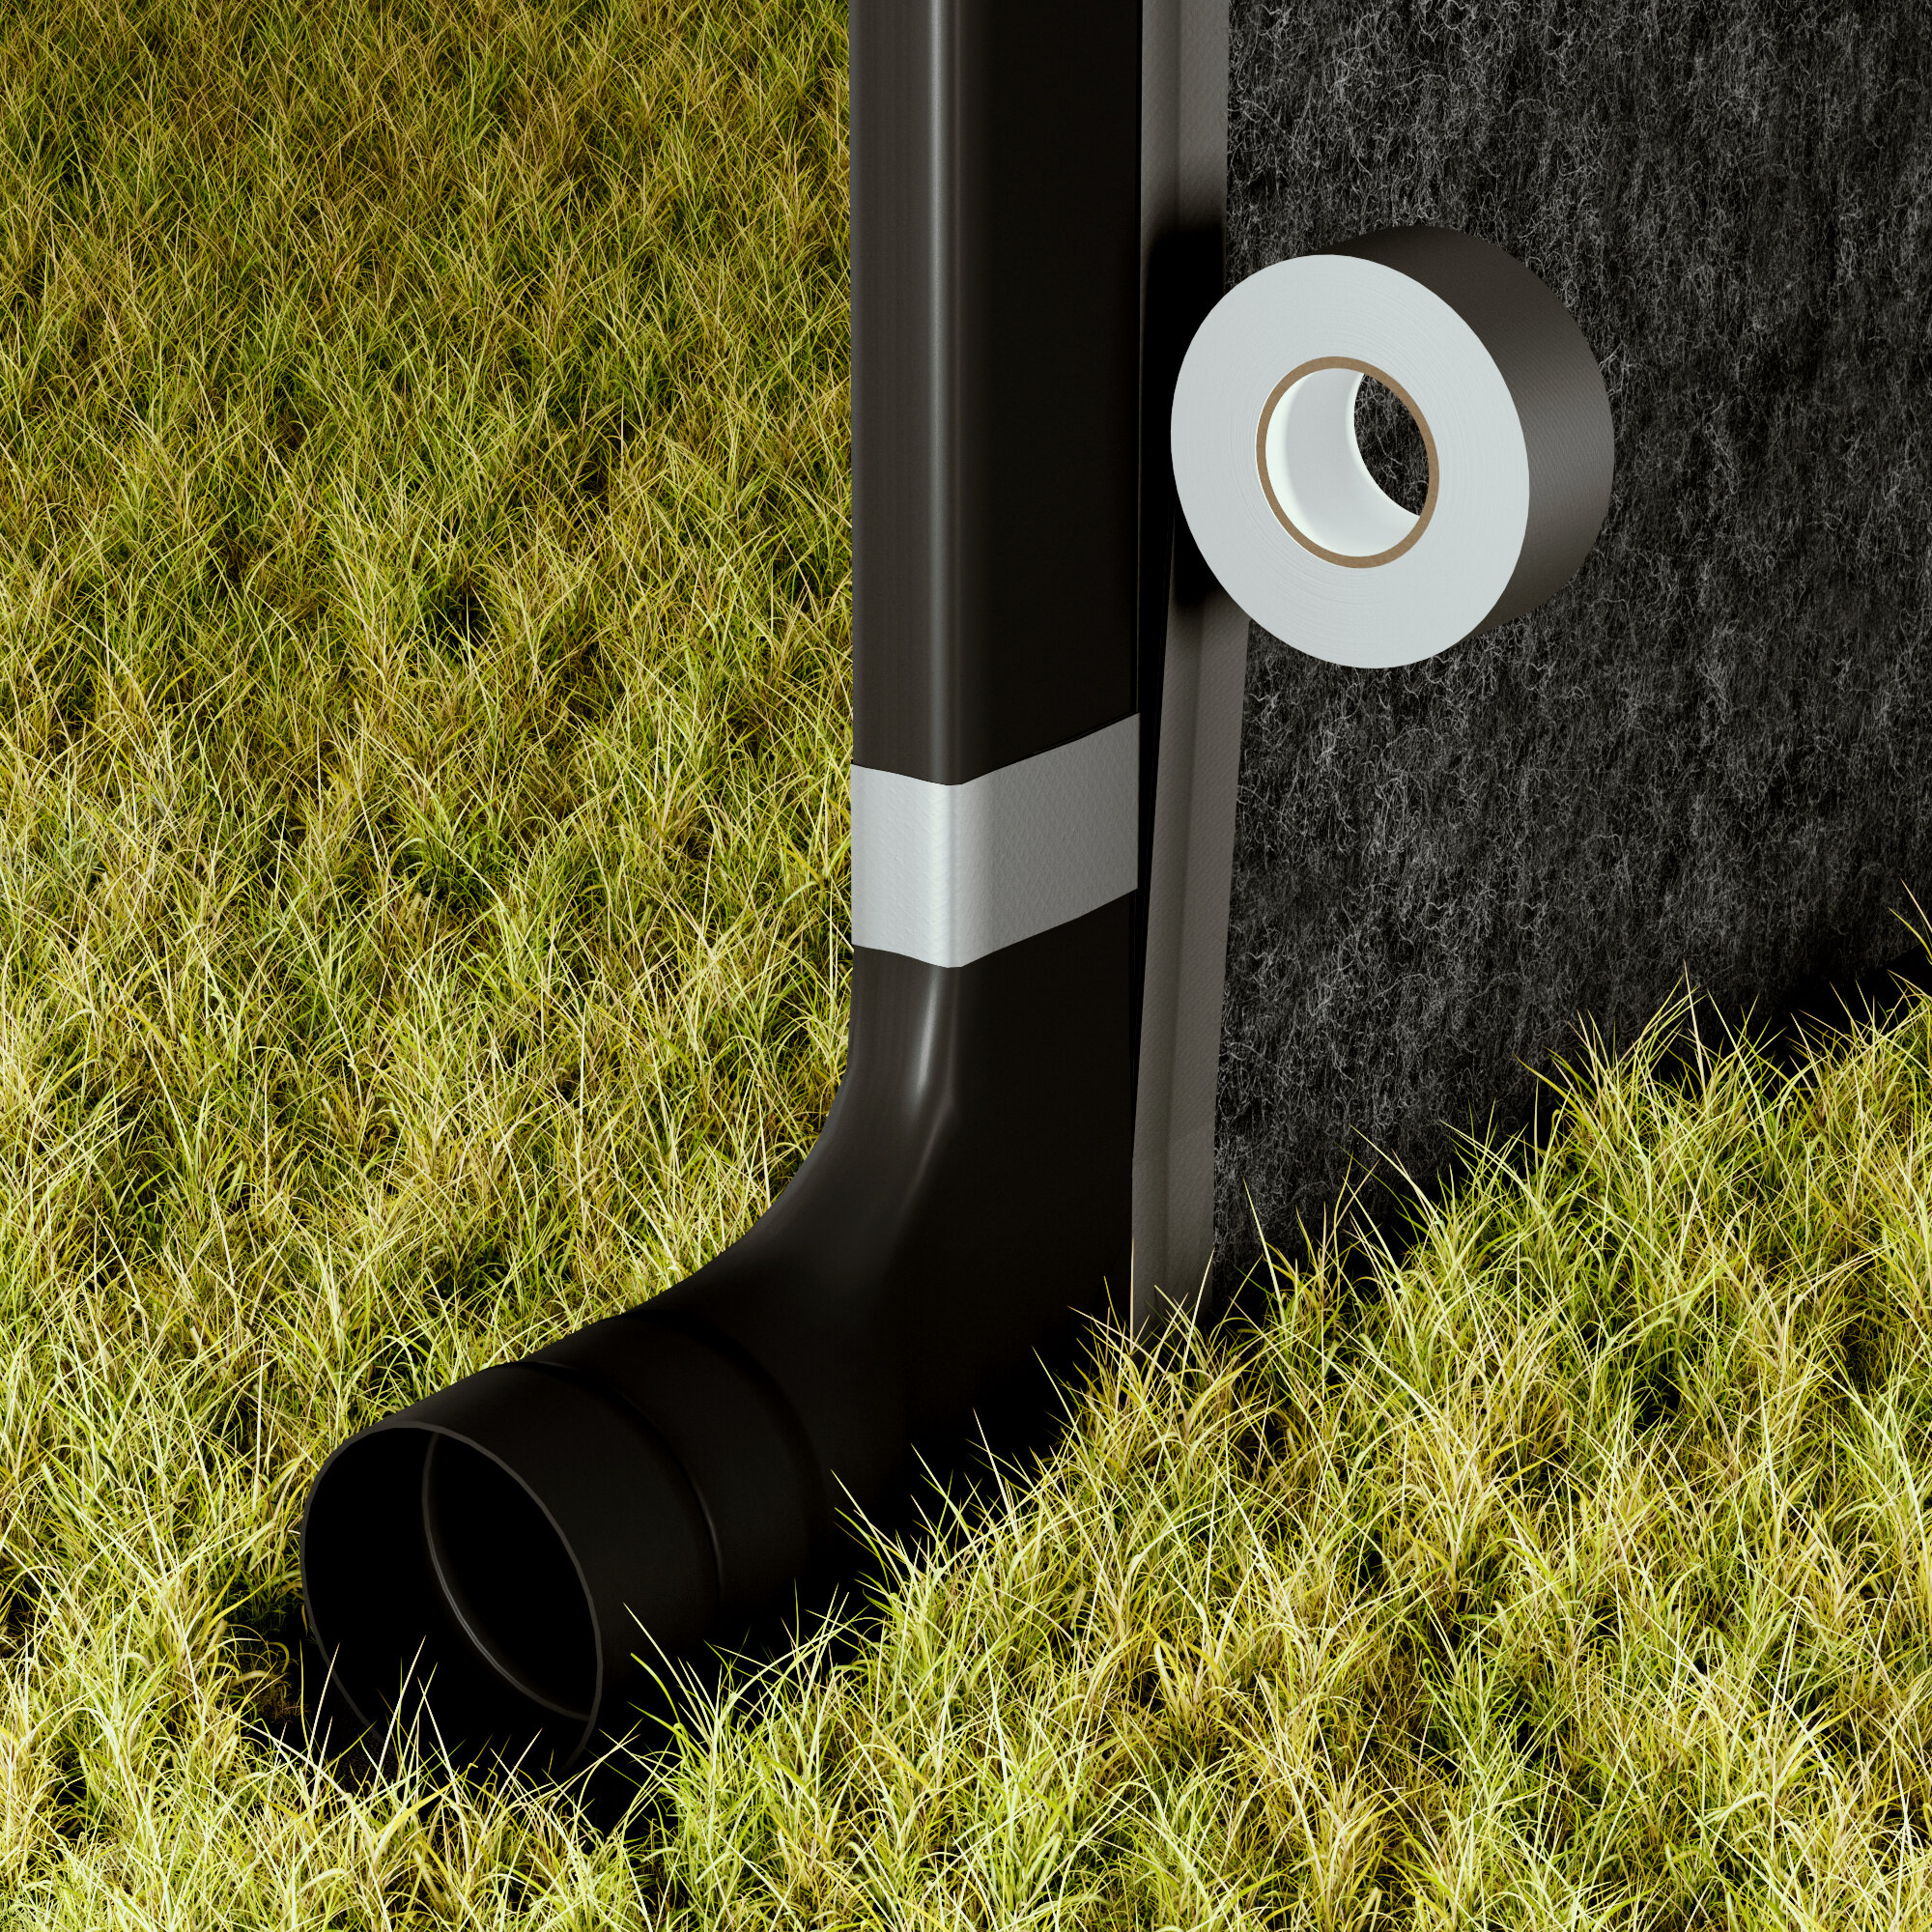
Place strip drain vertically in the trench against one side. The dimpled side of the drain should be pointed toward the subsurface water flow. If one end of the strip drain will not be connected to pipe or fittings, that end should be terminated to prevent soil intrusion by covering the end with a geotextile and securing with AWD Underground Tape.

#3 Splicing
If in-line splicing is required, peel back the geotextile from each adjoining strip drain at the splice exposing 2 rows of dimples on each strip drain. Press the drains together, interlocking the dimples, tap lightly with a rubber mallet and re-wrap the geotextile in place to prevent soil intrusion. Secure the re-wrapped geotextile with AWD Tape.

#4 Backfill
If subsurface and surface water collection is desired, backfill material will be a granular material such as clean sand or aggregate. If only subsurface water collection is desired, native excavated material may be suitable for backfill. The appropriate backfill material should be placed in the trench between trench wall and strip drain to top of the trench. Compact the backfill material to control and minimize settlement. A minimum of 3” of backfill material should cover strip drain to protect the drain from landscape equipment and operations.

#5 Outlets
End Outlets and Tee Outlets are used to convert AWD strip drain to round pipe for conveyance to collection points or daylight. Both fittings allow conversion to 4” Type S or Type C corrugated HDPE Pipe or 4” PVC Sch 40 or SDR 35 Pipe. See AWD Fittings Guide for complete fittings installation instructions.